Congratulations on your new MacBook! Whether you’re a seasoned Windows user or completely new to the world of computers, Apple’s macOS offers a user-friendly and intuitive experience. This guide will equip you with the essential knowledge to navigate your MacBook confidently and unlock its full potential.
Power On and Initial Setup
- Unboxing the Magic: Carefully unpack your MacBook and its accessories. Familiarize yourself with the power adapter, charging cable, and any other included items.
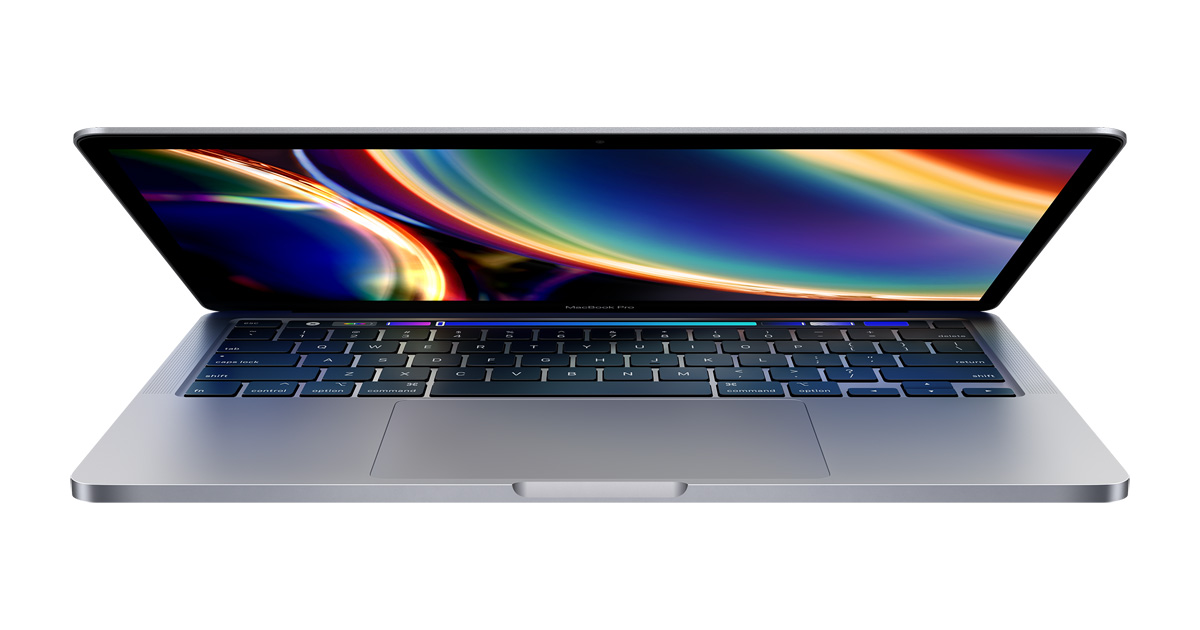
- Power Up: Locate the MagSafe charging port (or USB-C port on newer models) and connect the power adapter. Press the power button, usually located on the top right corner of the keyboard.
- Welcome Screens: Follow the on-screen prompts to choose your preferred language, region, and accessibility settings. You’ll also be asked to connect to a Wi-Fi network.
- Apple ID: If you have an existing Apple ID (used for iCloud, iTunes, App Store, etc.), enter your credentials during setup. If you’re new to Apple, creating a free Apple ID is a breeze and grants access to various Apple services.
- Data Transfer (Optional): If you’re switching from another computer, Apple offers migration tools to transfer your files and settings. Follow the on-screen instructions for a smooth transition.
Welcome to macOS: A Tour of the Basics
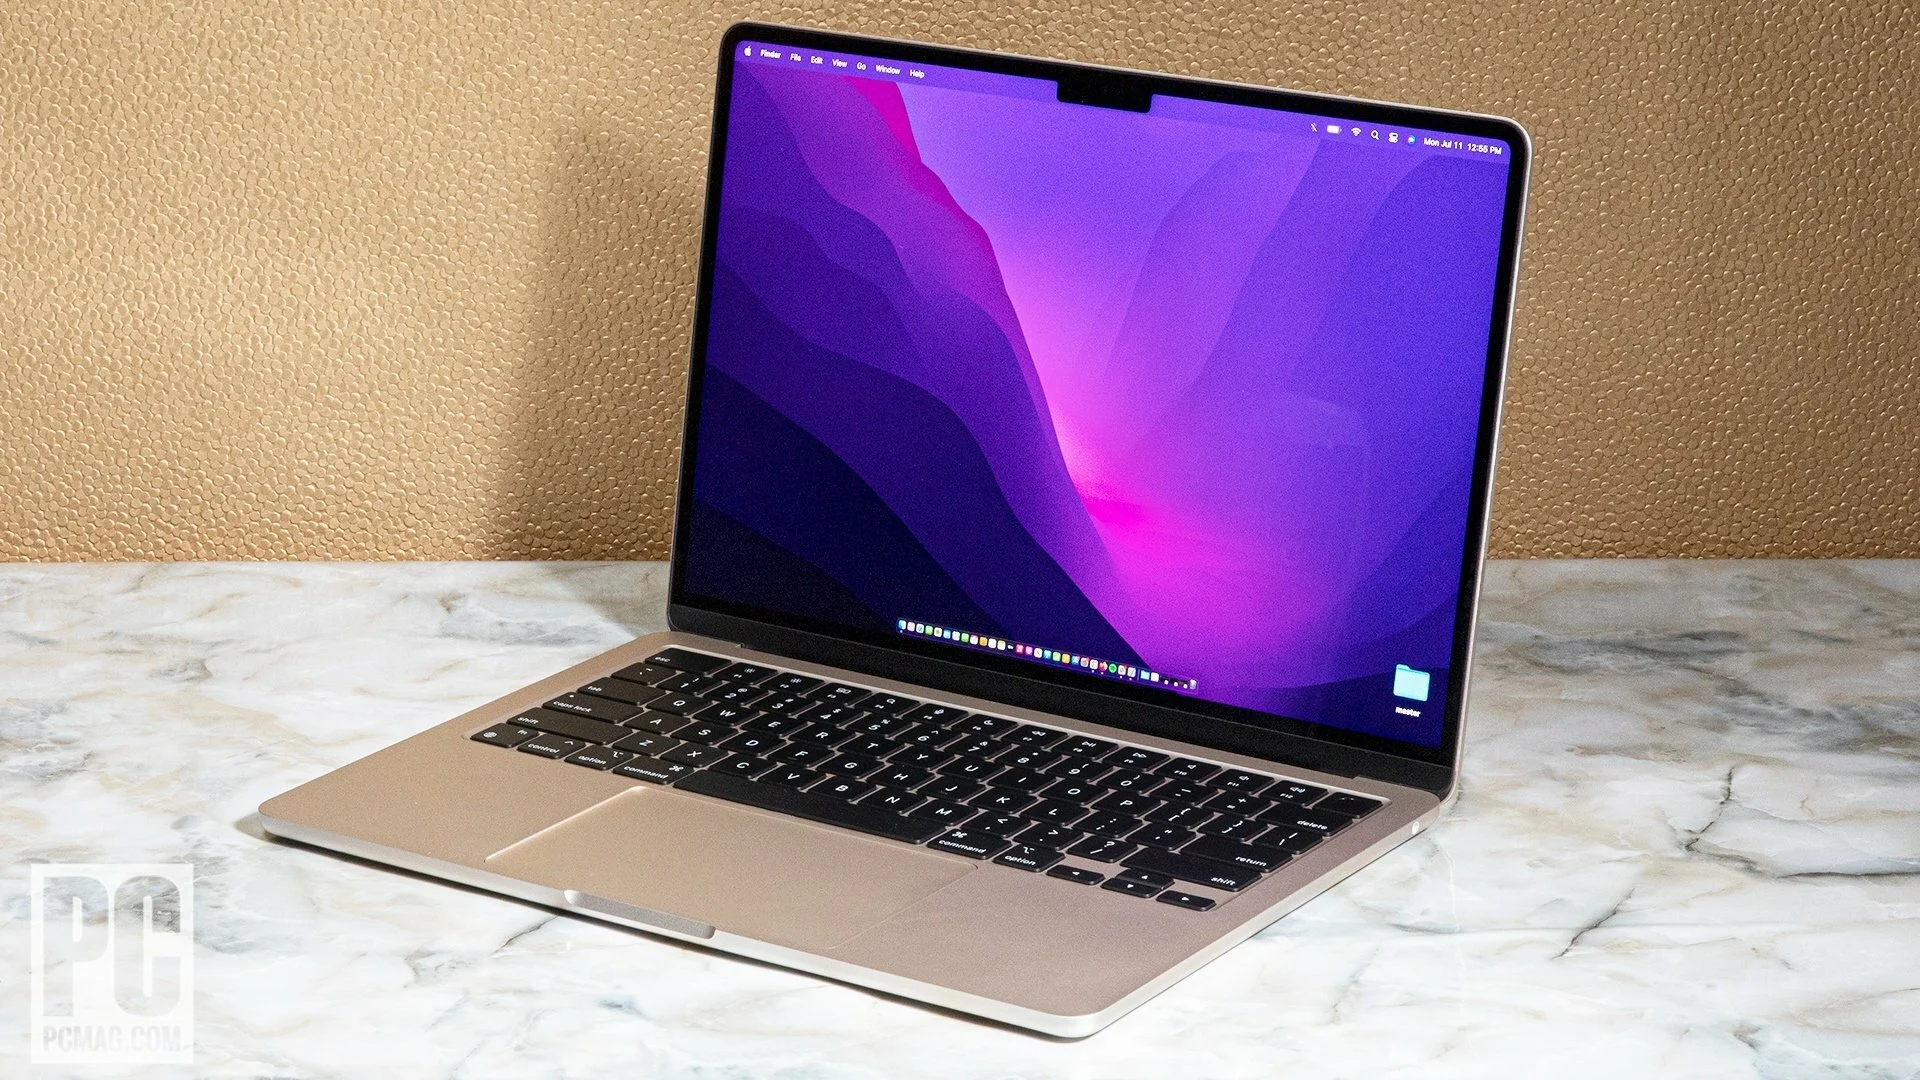
Once the setup is complete, you’ll be greeted by the macOS desktop. Here’s a breakdown of the key elements:
- Menu Bar: Located at the top of the screen, the menu bar contains various menus specific to each application you’re using. You’ll also find system functions like Wi-Fi, sound control, and the Apple menu ().
- Dock: The Dock at the bottom of the screen provides quick access to frequently used applications and folders. You can customize the Dock to add or remove items as needed.
- Finder: This is your file management system, similar to Windows Explorer. Use Finder to access documents, folders, downloads, and your hard drive.
- Launchpad: Think of this as your app library. Click on Launchpad (located in the Dock) to view all installed applications on your MacBook.
Essential Trackpad Gestures
MacBooks are known for their intuitive trackpads. Here are some basic gestures to get you started:
- Click: Similar to a traditional mouse, a single click selects an item, while a double-click opens it.
- Right-click: Pressing the trackpad with two fingers (or clicking bottom right corner) opens a context menu with additional options.
- Scrolling: Swipe two fingers up or down to scroll through webpages, documents, etc.
- Swiping between desktops: Use a three-finger swipe left or right to switch between virtual desktops (helpful for multitasking).
Mastering the Keyboard: Essential Shortcuts
While the trackpad is fantastic, keyboard shortcuts can significantly boost your productivity. Here are a few handy shortcuts to remember:
- Command (⌘) + C: Copy selected text
- Command (⌘) + V: Paste copied text
- Command (⌘) + X: Cut selected text
- Command (⌘) + Z: Undo an action
- Command (⌘) + A: Select all
- Command (⌘) + Option (⌥) + Esc: Force quit an unresponsive application
These are just a few basic shortcuts; many more exist for specific applications. Exploring the menus within each app will often reveal keyboard shortcut options.
Built-in Applications: Exploring Apple’s Ecosystem
Your MacBook comes pre-loaded with a suite of powerful applications designed to meet your everyday needs. Here’s a quick rundown of some key applications:
- Safari: The default web browser for a seamless web browsing experience.
- Mail: Manage your email accounts and stay connected.
- Calendar: Keep track of appointments, schedules, and reminders.
- Photos: Organize, edit, and share your photos and videos.
- Pages: Create stunning documents for word processing needs.
- Numbers: Craft spreadsheets and perform calculations with ease.
- Keynote: Design impressive presentations with powerful tools.
Don’t hesitate to explore these applications and discover their functionalities. Apple also offers a variety of productivity and creative apps available for download through the App Store.


